Teams and User Management
Assemblic manages users through teams. Teams allow you to organise your users and projects logically. When you subscribe, you’ll have an initial Team created automatically, named with your email address.
You can see your team in the top dropdown. If you have multiple teams set up, you can also toggle between teams from this dropdown.
Create a new team
To create a new team, click on Team Management, then Teams, and then Create Team.
 Enter a new team name and click Create Team.
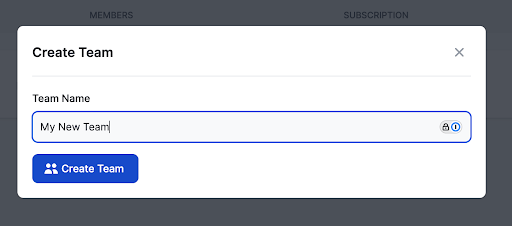
Once you’ve created a new team, it can be accessed via the top dropdown menu or the Team Management/Teams menu.
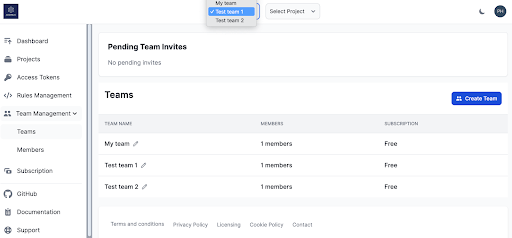
From the Teams area you can also change the name of the team. Click on the pen icon next to the team name.
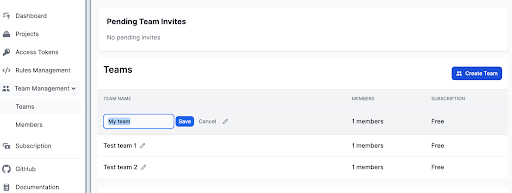
Type in the new team name and click Save.
Add new team members
To add new users to a team, go to Team Management/Members and select the team.
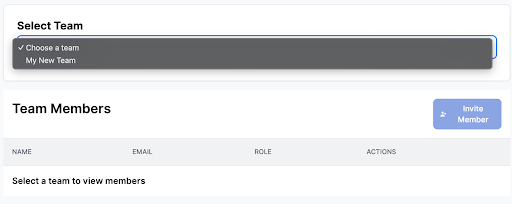
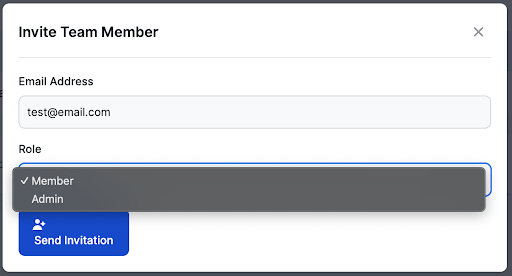
Then click Invite Member. Enter their email address, select a role and click Send Invitation.
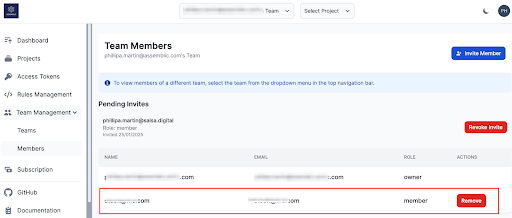
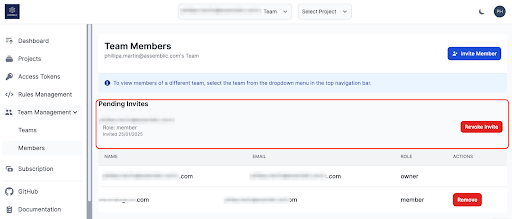
Pending invites can be seen in the top section of the Teams Management/Members screen.
Note: Each Assemblic plan comes with a specific number of users. Additional users will incur an additional per user cost, which will be invoiced at the end of each month. Please see www.assemblic.com/pricing for the most up-to-date pricing.
Team member roles
Currently we have two member roles set up, ‘Admin’ and ‘Member’. For the current (MVP) launch there is no difference between the roles in terms of what they can do within Assemblic. The roadmap includes adding in different privileges, such as only allowing Admins to subscribe, manage team members and create projects.
Remove team members
You can remove team members at any time, using the Remove button on the right-hand side of the team member’s entry.
